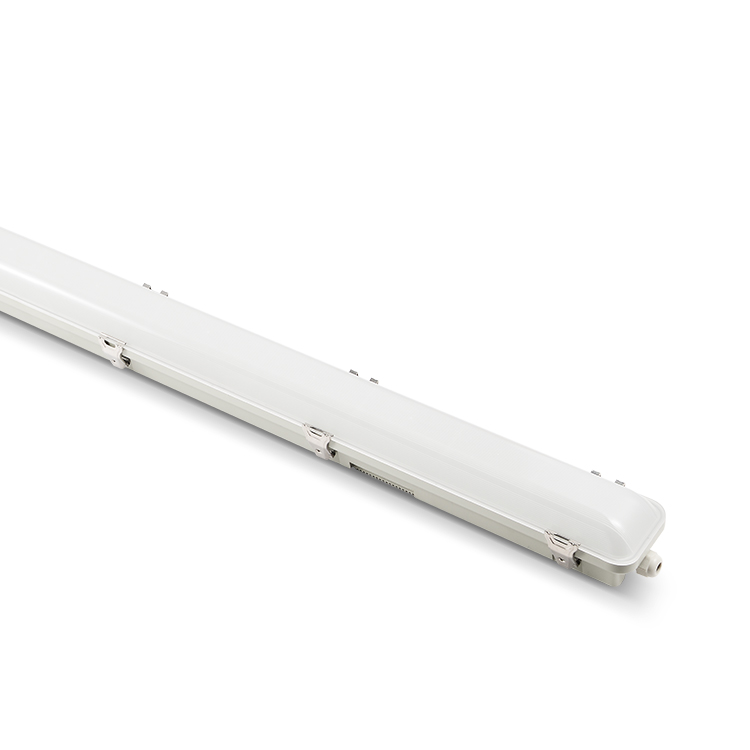
Learn professional Batten Light installation techniques for modern homes. This guide covers ceiling mounting, electrical safety, and achieving a sleek look with step-by-step instructions for DIY enthusiasts.
Key Takeaways
This guide provides a comprehensive overview for installing batten lights in contemporary residences. Key aspects covered include:
- Thorough Preparation: Ensuring you have the correct tools, materials, and understand your ceiling structure before starting is fundamental.
- Safe Mounting Procedures: Following precise steps for secure ceiling mounting forms the foundation of the installation.
- Critical Electrical Safety: Adherence to safety protocols, including circuit verification and proper wire handling, is non-negotiable.
- Accurate Wiring: Understanding and executing the correct wiring connections is essential for functionality and safety.
- Achieving the Desired Aesthetic: Techniques for positioning and aligning the batten light to ensure a clean, streamlined modern look.
- Problem Identification: Recognizing and resolving common issues encountered during the installation process.
- Professional Finishing: Final checks and adjustments to guarantee a polished, high-quality result.
Before proceeding with the physical installation, careful preparation is vital. Ensure you have gathered all necessary tools and materials, understand the specific electrical circuit you’ll be working on, and have confirmed the suitability of your ceiling structure for mounting. Referencing local electrical codes is mandatory.
Essential Pre-Installation Checklist:
| Requirement | Details | Checked |
|---|---|---|
| Tools Acquired | Drill, screwdriver, wire strippers, voltage tester, ladder, etc. | [ ] |
| Materials Ready | Batten light fixture, appropriate screws/wall plugs, wire connectors | [ ] |
| Circuit Confirmation | Correct circuit identified & powered off; voltage tested | [ ] |
| Ceiling Assessment | Material (plasterboard/concrete) confirmed; mounting points suitable | [ ] |
| Code Compliance | Local electrical regulations reviewed & understood | [ ] |
Preparing for Batten Light Installation
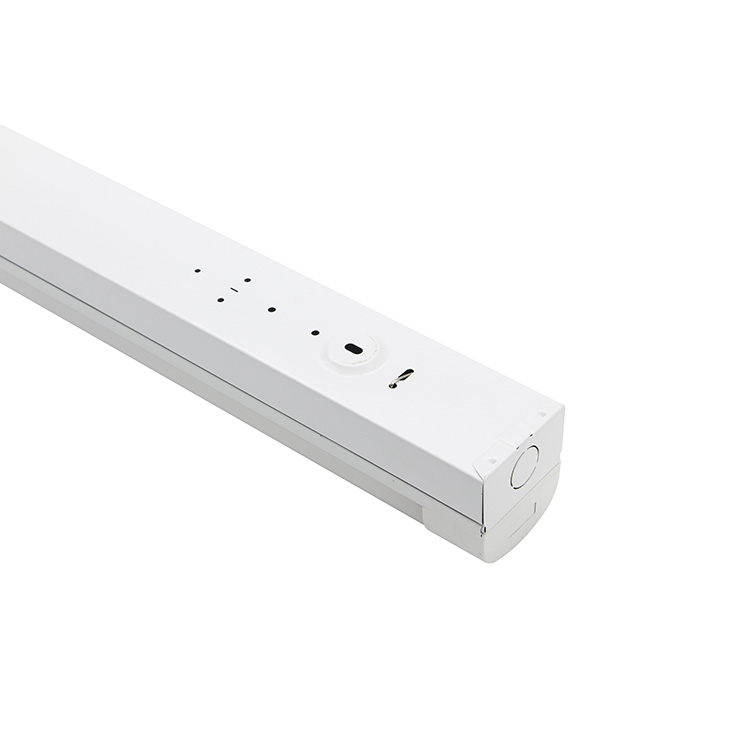
Before beginning any electrical work, thorough preparation is essential for a safe and successful Batten Light installation. Start by gathering all necessary tools and materials: a reliable voltage tester, wire strippers, appropriate screwdrivers, a sturdy ladder, the Batten Light fixture itself, and any mounting hardware specified by the manufacturer. Simultaneously, assess the installation site on your ceiling. Identify the ceiling joists using a stud finder, as these provide the strongest support points for securely mounting the fixture’s bracket. Check the existing electrical box to ensure it is rated for the weight of your chosen Batten Light and is positioned correctly for your desired layout. Crucially, locate your home’s main electrical panel and turn off the power to the circuit where you will be working. Verify that the power is indeed off using the voltage tester at the installation point before touching any wiring. This preliminary step ensures a safe foundation for the subsequent mounting and electrical connection stages.
Ceiling Mounting Step-by-Step Guide
Begin by accurately positioning the batten light fixture on the ceiling according to your planned layout. Use a pencil to mark the precise locations for the mounting holes, ensuring they align correctly with the ceiling joists or support points identified during preparation. Pre-drill pilot holes at these marked points to facilitate easier screw insertion and prevent damage to the ceiling material. Securely attach the mounting bracket or the fixture’s base plate using the manufacturer-provided screws and anchors, confirming it sits flush and level against the ceiling surface. A slight variation can impact the final appearance significantly.
Always double-check the fixture’s level using a spirit level before fully tightening all mounting screws. An uneven fixture compromises both the sleek look and the structural security.
Ensure the mounting is robust enough to hold the fixture’s weight without any movement. Once firmly secured and verified as level, you can proceed to connect the electrical wiring. Carefully guide the pre-run circuit cables through the designated access hole in the mounting plate or fixture body, ready for the next step. Before proceeding to the wiring phase, confirm there is no strain on the cables and the fixture is stable. This solid foundation is crucial for both safety and achieving the intended clean, modern aesthetic.
Essential Electrical Safety Measures
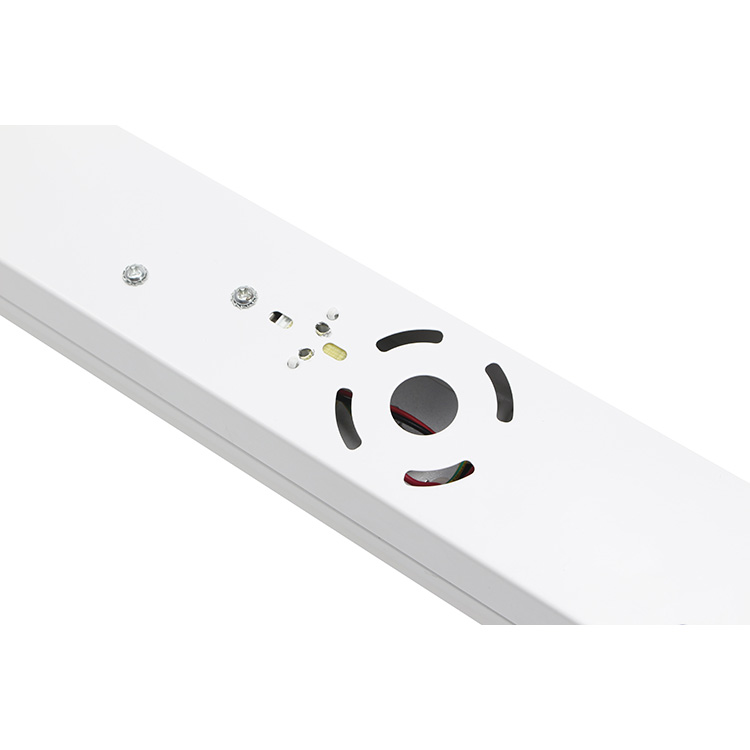
Before proceeding with any electrical connections, verifying power isolation is non-negotiable. Always use a reliable voltage tester to confirm the circuit is completely dead at the main switchboard; never rely solely on the light switch. Ensure the junction box intended for your Batten Light is structurally sound and rated to safely support its weight – a minimum UL-listed capacity of 50 pounds is generally recommended for secure mounting. Proper grounding forms the cornerstone of safe installation. Connect the bare copper or green grounding wire from the Batten Light fixture securely to the grounding wire within the junction box using an approved grounding screw or wire connector. This critical step provides a safe path for fault currents, significantly reducing the risk of electric shock. Furthermore, always use wire connectors (wire nuts) that are appropriately sized for the gauge and number of wires being joined, ensuring tight, secure connections that prevent arcing or loosening over time. Never attempt to bypass these fundamental safety protocols.
Wiring Your Batten Light Safely
Ensuring secure electrical connections is paramount when installing your batten lights. Always begin by confirming the power is switched off at the main consumer unit and use a voltage tester on the circuit wires before touching any conductors. Identify the live (brown or red), neutral (blue or black), and earth (green/yellow) cables within the ceiling rose or junction box. Carefully connect the corresponding wires from the batten light fitting to these circuit wires using approved connectors, such as lever-type Wago connectors or correctly sized terminal blocks, ensuring no bare wire is exposed. Tighten terminal screws firmly to manufacturer specifications (typically 0.5-0.8 Nm torque) to prevent arcing or loose connections. Double-check that the earth wire from the fitting is securely bonded to the circuit’s earth terminal. Neatly tuck all connected wires back into the junction box, avoiding any strain on the connections, before proceeding to secure the batten light body to the mounting plate. This meticulous approach guarantees both operational safety and long-term reliability for your lighting.
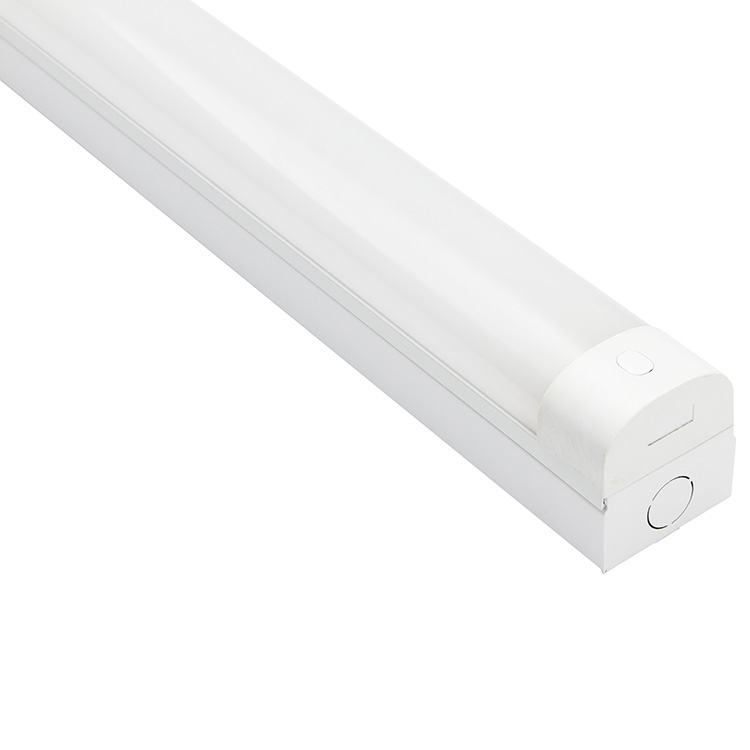
Achieving a Sleek Modern Look
Properly installed Batten Lights inherently contribute to a minimalist aesthetic, but achieving a truly seamless, modern appearance requires careful attention to detail beyond just the electrical connection. Precise alignment is paramount; ensure all fixtures run perfectly parallel to walls or key architectural lines within the space. Consistent spacing between multiple units is equally critical – measure meticulously before final mounting to avoid uneven gaps that disrupt visual flow. Consider the beam angle and color temperature of the chosen LED modules; a neutral white (typically 3000K-4000K) often complements contemporary interiors best, providing clear, crisp illumination without harshness. The clean lines of the Batten Light housing should integrate smoothly with the ceiling plane, avoiding any visible gaps or unevenness around the edges. Selecting a finish that subtly complements or intentionally contrasts with your ceiling color can further enhance the deliberate, designed look central to modern style. This focus on precision and integration ensures the lighting becomes a harmonious architectural element rather than merely an added fixture.
Troubleshooting Common Installation Issues
Even with careful installation, occasional challenges may arise when fitting batten lights in modern homes. If the fixture flickers intermittently after connection, first confirm all wiring terminations are secure within the junction box; loose neutral wires are a frequent culprit. Use a non-contact voltage tester to verify power is completely off before rechecking connections. Should sections of the batten light emit uneven illumination or fail to light entirely, inspect the internal connectors between light modules – these push-fit connectors can sometimes disengage during ceiling mounting. Ensure each segment clicks firmly into place along the entire length. For fixtures that appear unstable or sag slightly, revisit the mounting bracket installation. Verify that all screws anchoring the bracket to the ceiling joists or solid backing are fully tightened and that the bracket itself is perfectly level before clipping the light body onto it. If the circuit breaker trips immediately upon restoring power, this strongly indicates a short circuit or significant overload; disconnect the fixture and meticulously re-examine all wiring for potential crossed wires or damaged insulation contacting the metal housing. Systematic checks typically resolve these common issues efficiently.
Final Touches for Professional Finish
Once the fixture is securely mounted and wired, attention shifts to perfecting the installation’s appearance. Carefully adjust the batten light’s position along its mounting track or directly on the ceiling plate, ensuring it sits perfectly straight and parallel to walls or other architectural features; even a slight misalignment can undermine the desired sleek, modern aesthetic. Thoroughly clean the fixture’s diffuser and housing using a soft, lint-free microfiber cloth slightly dampened with water or a mild, non-abrasive glass cleaner, removing any fingerprints, dust, or debris accumulated during handling. Pay close attention to the edges where the fixture meets the ceiling, confirming the trim sits flush without gaps. Finally, step back and view the light from multiple angles in the room, checking for consistent light output across the entire length and verifying the seamless integration of the fixture into the ceiling plane for that truly professional, high-end finish.
Conclusion
Completing your Batten Light installation signifies more than just adding a new light source; it represents the successful integration of form and function within your modern home. Throughout this guide, the emphasis has been placed equally on achieving the desired sleek aesthetic and adhering to fundamental electrical safety practices. By carefully following the steps for ceiling mounting, secure wiring, and meticulous alignment, you ensure both a visually striking result and a reliably safe lighting solution. Remember that attention to detail during the final adjustments and finishes is crucial for that professional, seamless appearance. This project demonstrates that, with careful preparation and respect for safety protocols, achieving a sophisticated look with linear lighting is an attainable goal for dedicated DIY enthusiasts, enhancing your living space effectively.
Frequently Asked Questions
What safety checks are essential before starting installation?
Always verify the main power is switched off at the circuit breaker (MCB/RCD) using a voltage tester. Ensure your ceiling structure can support the light’s weight safely.
How do I know if my ceiling joists can support the batten light?
Most modern batten lights are lightweight, but always check the product specifications. If mounting directly to plasterboard without a joist, you must use appropriate hollow wall anchors rated for the light’s weight.
Why is identifying live and neutral wires crucial?
Correct polarity (live to live, neutral to neutral) is vital for safety and function. Reversing them can cause malfunctions or create an electrocution risk, even when the switch is off. Refer to your wiring diagram meticulously.
Can I connect the batten light wires directly without connectors?
No. Always use approved screw terminal blocks, push-fit connectors, or wagos. Never rely on electrical tape alone, as connections can loosen over time, creating a fire hazard.
How can I ensure a truly seamless, flush ceiling finish?
Take time preparing the mounting surface. Ensure the mounting plate is perfectly level and tight against the ceiling. Carefully tuck all wires neatly into the junction box before securing the light’s cover.
What causes a newly installed batten light to flicker?
Flickering often indicates a loose wire connection. Turn off the power immediately and recheck all terminal connections. If using a dimmer switch, confirm both the LED driver and dimmer are compatible.