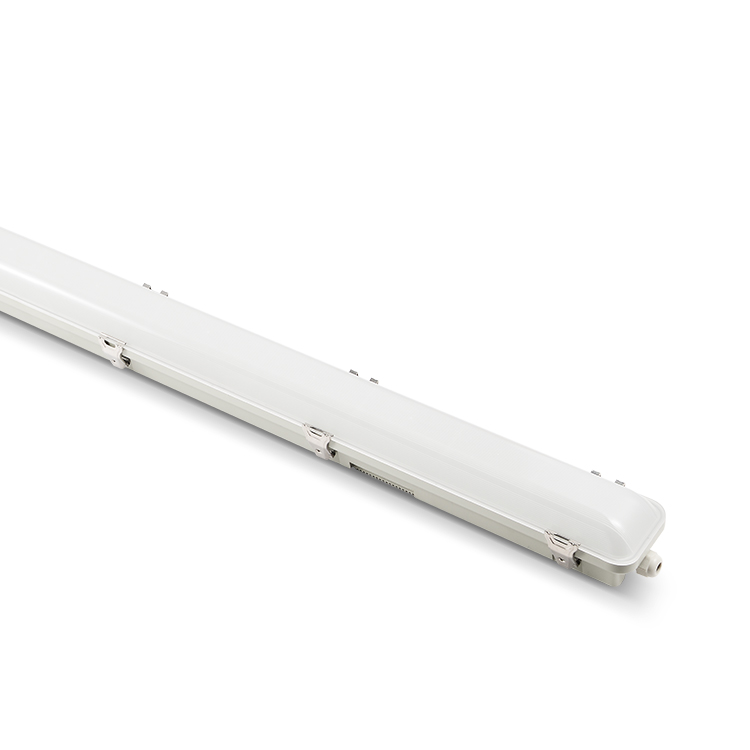
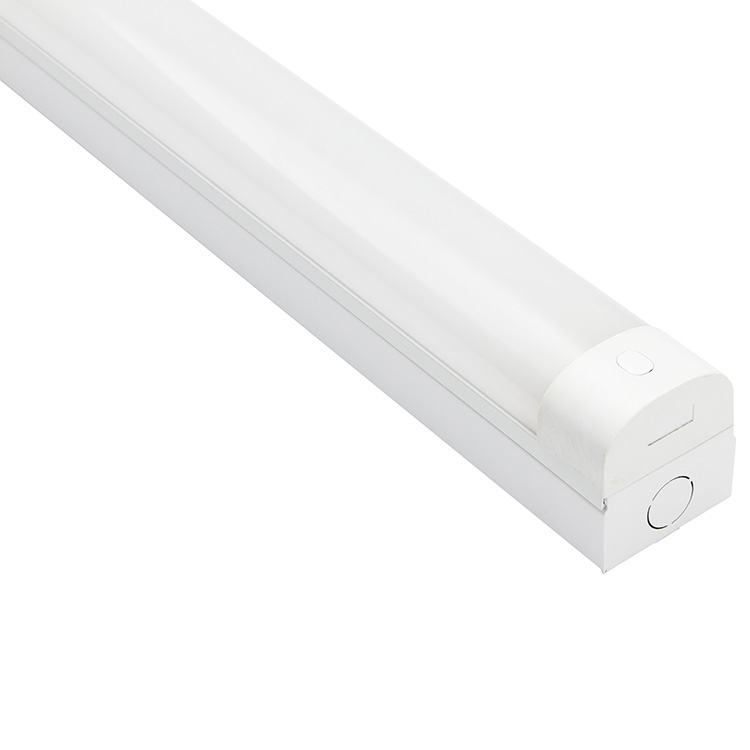
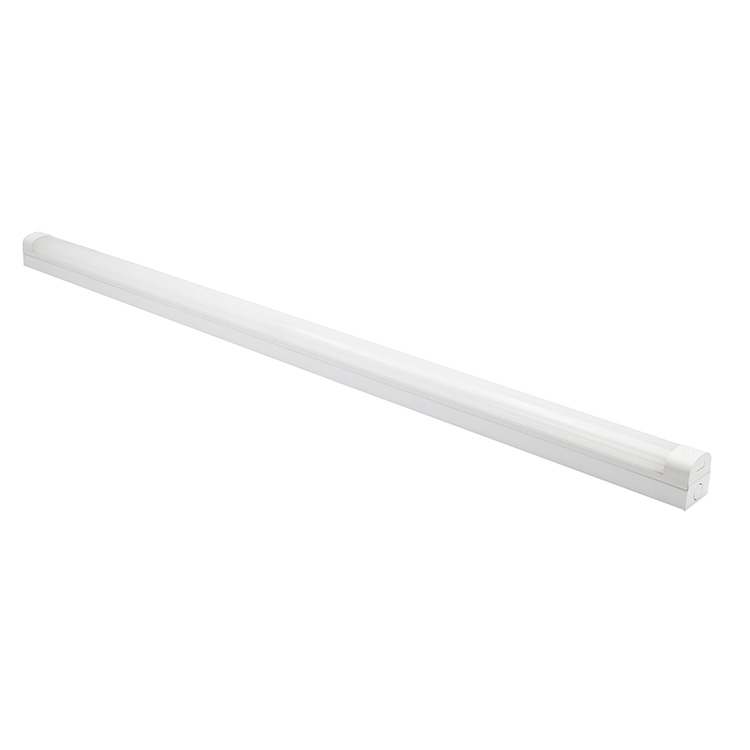
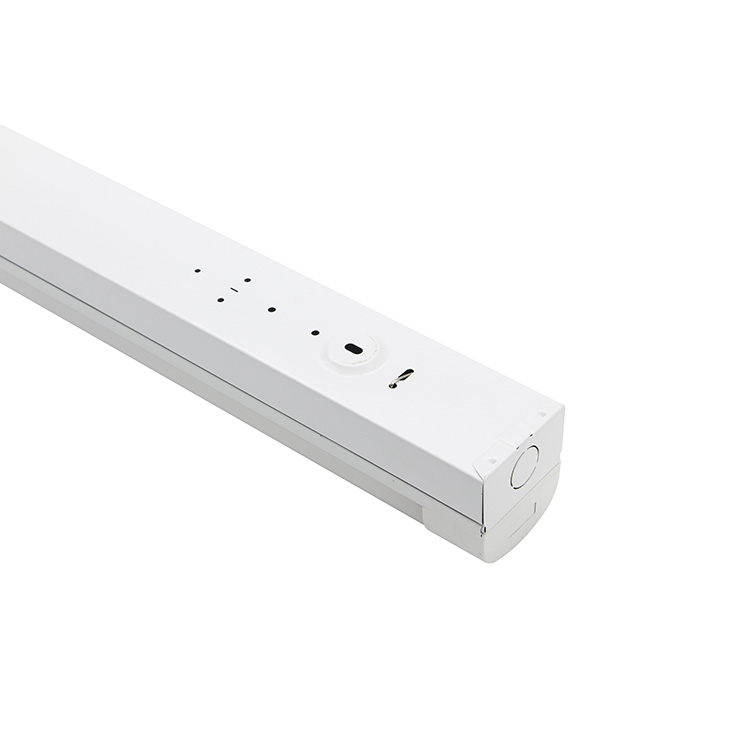
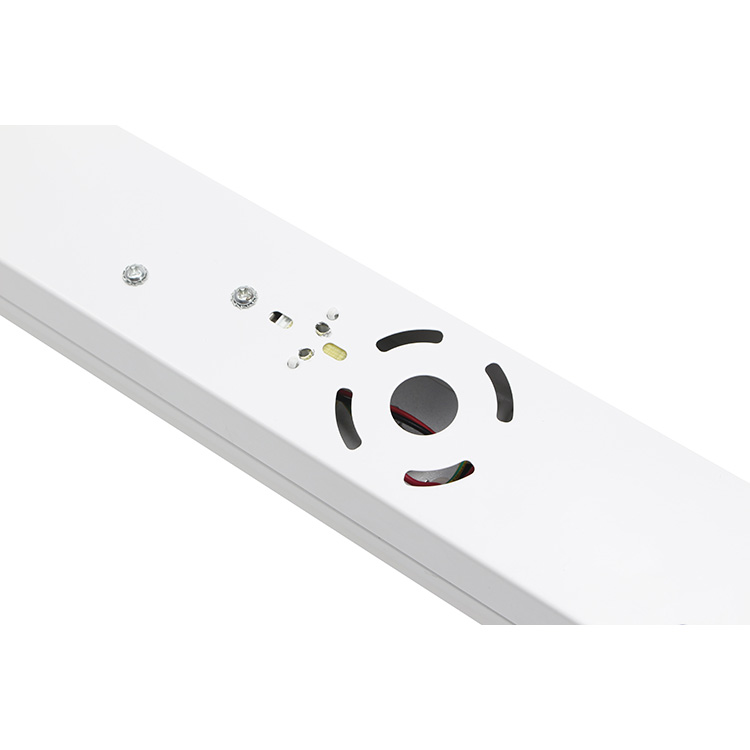
Master professional Batten Light installation with this step-by-step guide. Learn essential positioning, wiring, and maintenance techniques to maximize performance and longevity in any space.
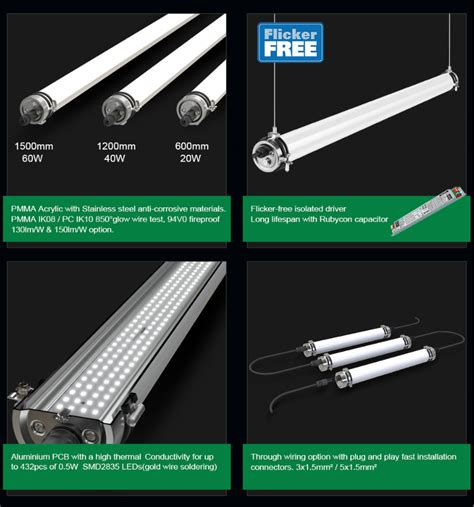
Key Takeaways
Successful Batten Light installation hinges on meticulous planning and execution across several critical phases. First, thorough preparation is paramount, encompassing precise measurement of the installation area, verification of structural integrity at the mounting points, and ensuring all necessary components and compatible wiring are readily available. Selecting the appropriate tools beforehand significantly streamlines the process. Secondly, professional execution involves three core actions: achieving optimal positioning for desired illumination and aesthetics, securing the fixture correctly according to manufacturer specifications, and implementing safe, code-compliant wiring connections. Finally, ensuring long-term performance and safety requires adherence to regular maintenance schedules and rigorous compliance with electrical safety standards throughout the installation and beyond. The following table summarizes the essential focus areas:
| Installation Phase | Critical Actions | Primary Purpose |
|---|---|---|
| Preparation | Measure space, verify mounting points, gather tools/components | Ensure readiness & prevent delays |
| Installation Execution | Precise positioning, secure mounting, correct wiring | Achieve functionality, safety & aesthetics |
| Long-Term Assurance | Perform scheduled maintenance, ensure safety compliance | Guarantee longevity & user safety |
Adhering to these fundamental principles lays the groundwork for a safe, efficient, and enduring Batten Light installation, directly impacting the fixture’s performance and lifespan in any environment.
Batten Light Installation Preparation Checklist
Before commencing installation, thorough preparation is essential for a smooth and safe process. Begin by confirming the main power supply to the designated circuit is completely switched off at the breaker panel; verify this using a reliable non-contact voltage tester. Next, gather all necessary tools and materials: ensure you have a suitable ladder, a drill with appropriate bits, wire strippers/cutters, screwdrivers (both flathead and Phillips), measuring tape, a spirit level, wire connectors (wire nuts or Wagos), and the specific mounting hardware supplied with the Batten Light fixture. Carefully unpack the fixture and inspect all components against the manufacturer’s parts list for any damage or missing items. Review the provided installation manual thoroughly, noting any specific requirements for your model. Accurately measure and mark the planned mounting locations on the ceiling or wall according to your lighting design, double-checking alignment and spacing. Finally, confirm the mounting surface is structurally sound, clean, and capable of supporting the fixture’s weight, and ensure you have personal protective equipment (safety glasses, gloves) readily available. This systematic approach prevents delays and hazards during the actual installation phase.
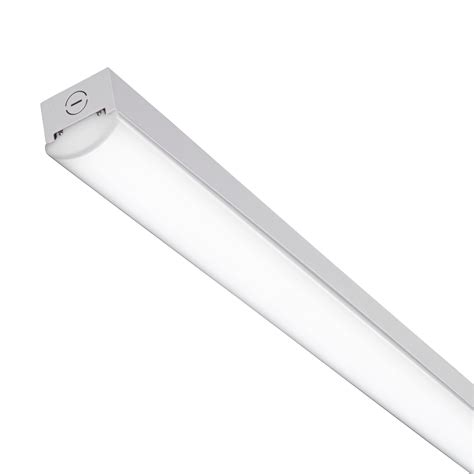
Essential Tools for Batten Light Setup
Proper installation begins with assembling the correct tools, ensuring efficiency and safety throughout the process. While specific requirements may vary slightly based on your ceiling material and batten model, several core items are universally necessary. Essential electrical tools include a reliable non-contact voltage tester to confirm circuits are dead before starting work, and wire strippers/cutters for preparing connections. You will also need a quality drill/driver equipped with appropriate bits for your ceiling surface (masonry bits for concrete, standard wood/metal bits for timber or suspended ceilings), along with screwdriver bits compatible with your fixture’s mounting hardware. A sturdy ladder providing safe, stable access to the installation point is non-negotiable.
Always double-check circuit isolation with your voltage tester immediately before handling any wires, even if you believe the circuit is off.
Beyond these basics, consider a laser level for achieving perfectly straight alignment, especially for longer fixtures or multiple units in a row. Basic hand tools like a tape measure, pencil for marking positions, and a spirit level (as a backup or for single fixtures) are indispensable. Personal protective equipment, specifically safety glasses and work gloves, should be worn to shield against dust and minor abrasions. Having all tools organized and within reach before mounting the fixture significantly streamlines the installation and minimizes potential errors during the critical wiring phase.
Step-by-Step Batten Light Mounting Process
Begin the physical installation by verifying the main power circuit is switched off at the distribution board. Position the mounting plate or bracket precisely against the ceiling surface, aligning it according to your pre-marked positions. Use a stud finder to locate ceiling joists or concrete anchors for secure fixing points. Drill pilot holes if necessary and fasten the plate firmly using appropriate screws or bolts, ensuring it sits flush and level. Double-check the stability before proceeding.
Next, carefully lift the batten light housing and align it with the mounting plate. Engage the mounting mechanisms, which may involve clips, screws, or a twist-lock design, depending on the model. Listen for audible clicks or ensure all fasteners are tightened securely to prevent movement or vibration. Confirm the fixture is perfectly level and aligned as intended. Avoid over-tightening screws to prevent damage to the fixture housing. This stable mechanical foundation is essential before proceeding to electrical connections.
Professional Batten Light Wiring Techniques
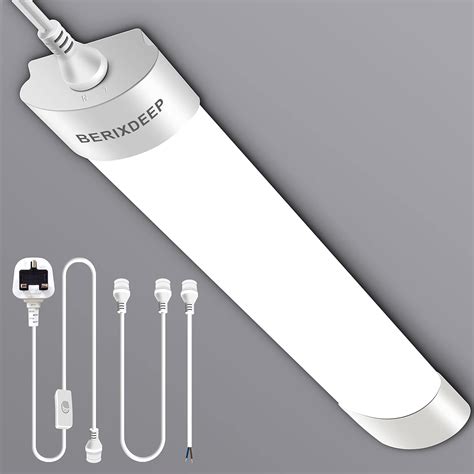
Following secure mounting, precise electrical wiring is critical for both functionality and safety. Before commencing any wiring work, ensure the circuit power is completely isolated at the mains distribution board and verified dead using a suitable voltage tester. Identify the live (typically brown or red), neutral (blue or black), and earth (green/yellow) conductors from the supply cable. Carefully match these to the corresponding terminals within the Batten light’s connection block, often clearly marked L, N, and E or symbolized accordingly. Connections should be made securely, ensuring no stray wire strands protrude, using screw terminals tightened firmly to prevent arcing or loosening over time. Double-check polarity is correct; reversing live and neutral can create a shock hazard. For models requiring an earth connection, this must never be omitted. Once connections are complete and neatly contained within the fitting’s terminal housing, the final step involves restoring power and testing the circuit to confirm correct operation before proceeding to positioning adjustments. Proper wiring ensures reliable performance and significantly reduces electrical risks.
Mastering Batten Light Positioning Strategies
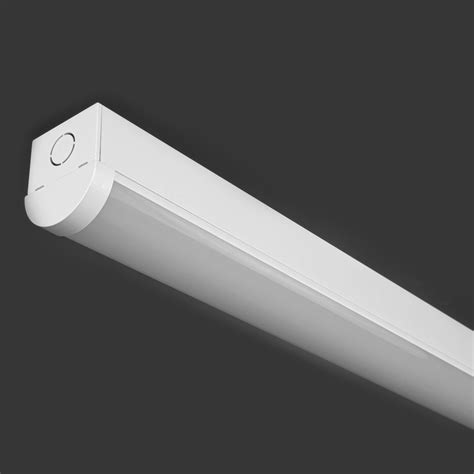
Optimal positioning is fundamental to achieving both the functional illumination and aesthetic impact of Batten Lights. The primary strategy involves determining precise spacing between fixtures; generally, positioning them equidistant apart ensures uniform light distribution across the ceiling plane, eliminating dark spots or overly bright zones. Height considerations are equally critical. While often mounted directly to the ceiling, the intended use dictates adjustments – fixtures above workbenches or kitchen counters benefit from slightly lower placement for enhanced task lighting, whereas ambient lighting in hallways typically adheres to ceiling height. Careful measurement of the room dimensions and marking fixture locations before mounting prevents costly repositioning later. Furthermore, factor in the room’s primary activities; positioning should align light beams effectively over key areas like desks or countertops, while ensuring fixtures are not obstructed by cabinets or beams. Always maintain adequate clearance from combustible materials as specified by safety regulations. Beyond functional requirements, consider the visual flow and symmetry the Batten Lights create within the space, contributing significantly to the overall ambiance.
Batten Light Maintenance for Longevity
Following proper installation and positioning, consistent maintenance is essential for maximizing the lifespan and performance of your Batten Light fixtures. Regular cleaning forms the foundation of upkeep; gently remove accumulated dust and debris from the diffuser, housing, and LED modules using a soft, dry or slightly damp cloth. Avoid abrasive cleaners or excessive moisture near electrical components. Periodically inspect all visible wiring connections and terminals for any signs of looseness, corrosion, or damage, addressing any issues promptly to prevent electrical hazards or performance degradation. While LEDs are long-lasting, monitor the light output over time. A significant drop in brightness or noticeable flickering often indicates that the driver or individual LED modules may require replacement. Furthermore, ensure the operating environment remains within the fixture’s specified temperature and humidity ranges, as extreme conditions can accelerate component wear. Implementing these straightforward maintenance routines significantly extends the functional life of your Batten Lights, preserving their efficiency and illumination quality for years.
Optimizing Batten Light Performance Tips
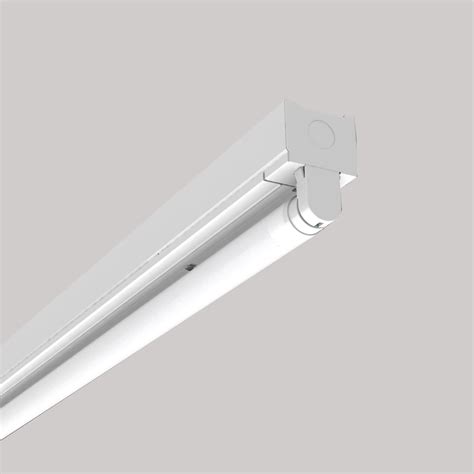
Maintaining your Batten light is fundamental for longevity, but optimizing its performance ensures you achieve maximum illumination efficiency and desired ambiance. Simple adjustments can significantly enhance light distribution and energy savings. Firstly, ensure the luminaire’s orientation complements the space; aligning the light beam parallel to the longest dimension of a room typically provides the most uniform coverage, reducing shadows and dark spots. Consider the reflective properties of surrounding surfaces; lighter walls and ceilings amplify light output, potentially allowing for lower wattage fixtures while maintaining brightness levels.
Secondly, selecting the correct correlated color temperature (CCT) is crucial for both functionality and atmosphere. Cool white light (5000K-6500K) enhances focus in task-oriented areas like workshops or kitchens, while warmer whites (2700K-3500K) create a welcoming feel in living spaces or retail environments. Thirdly, consistent voltage supply is vital; fluctuations can reduce bulb lifespan and light output. Using compatible, high-quality LED drivers and bulbs specified for the fixture ensures stable operation and maximizes energy efficiency, potentially reducing consumption by up to 80% compared to traditional options. Incorporating reflectors, where compatible, can further direct light precisely where needed, boosting usable lumens. Finally, ensure fixtures are clean and free from obstructions to maintain optimal light transmission and thermal management, directly impacting both performance and lifespan.
Ensuring Batten Light Safety Compliance
Beyond performance optimization and maintenance, adhering to stringent safety standards is non-negotiable for any batten light installation. Electrical work inherently carries risks, making compliance with local building codes and electrical regulations paramount. Always verify the fixture’s IP (Ingress Protection) rating matches the environment – IP65 or higher is essential for damp or outdoor locations to prevent moisture ingress and potential short circuits. Ensure the chosen mounting surface is structurally sound and capable of bearing the fixture’s weight, particularly for longer or heavier linear batten lights. Crucially, all wiring connections must be performed according to manufacturer specifications and national electrical codes, utilizing properly rated junction boxes and ensuring circuit protection devices like circuit breakers or fuses are correctly sized for the load. Maintain adequate clearance from combustible materials and verify that all terminations are secure and insulated. Crucially, complex installations or any work involving the main supply should be undertaken or verified by a licensed electrician to guarantee adherence to safety protocols and prevent fire hazards or electric shock.
Conclusion
Proper installation fundamentally shapes the effectiveness and lifespan of your Batten Light system. By meticulously following the preparatory steps, employing the correct techniques for mounting and wiring, and adhering to critical positioning strategies, you establish a foundation for optimal lighting performance and durability. Consistent maintenance practices, as outlined, further ensure this longevity and help maintain peak efficiency over time. Prioritizing safety compliance throughout every stage, from initial setup to ongoing operation, remains paramount. Ultimately, applying the knowledge and methods detailed in this guide empowers you to achieve a secure, high-performing, and enduring Batten Light installation suitable for any environment.
Frequently Asked Questions
What is the ideal mounting height for batten lights?
For general illumination, position fixtures 2.4-2.7 meters (8-9 feet) above the floor. Specific heights depend on ceiling height, task requirements, and local building regulations – always verify these first.
Can I install batten lights myself without an electrician?
While basic mounting is often DIY-friendly, all electrical wiring must comply with local codes. Connecting to mains power, especially in kitchens, bathrooms, or outdoors, typically requires a licensed electrician to ensure safety and compliance.
How much space should I leave between multiple batten lights?
Spacing depends on the fixture’s beam spread and ceiling height. A common rule is spacing fixtures apart by 1.5 times their length (e.g., 1.2m fixtures spaced ~1.8m apart). Always refer to the manufacturer’s photometric data for optimal results.
Are all batten lights compatible with dimmer switches?
No. Only batten lights specifically designed for dimming and paired with compatible LED drivers or ballasts will work correctly with dimmers. Check the product specifications before purchase and installation.
How often should batten lights be maintained?
Perform a visual check every 3-6 months for dust accumulation and ensure connections remain secure. Clean diffusers or lenses with a dry or slightly damp microfiber cloth annually, avoiding harsh chemicals. Inspect mounting points if vibration is a concern.

